QUICKSTART GUIDE

Install / Remove the IR-Cut Filter
The IR-Cut filter blocks infrared light so that your images have normal color and is recommended for use for most normal applications. You may wish to remove it in order to clean it or switch filter types. Replacement filters are available in the accessories section of our shop. The video below demonstrates how to remove, clean and replace the filter.
CLEANING
Routine changing of lenses and/or filters may cause the need for cleaning the filter and/or image sensor. A symptom of this is may be small dark spots in your images when your iris setting is high. In many cases just using a puffer to blow dust off the filter is sufficient. Never use tissues for cleaning as they leave a lot of small debris behind and can create tiny abrasions.
- Remove the filter as outlined in the section above
- Before cleaning use a puffer to blow loose debris from the filter and image sensor
- We recommend using a LensPen MiniPro followed by a puffer for optimal results. Both can be found at photo stores online and in camera stores for just a few dollars. Use small circular motions to clean lenses and filters, then follow-up with a puffer.
- You may also use lens fluid and a microfiber cleaning cloth. When cleaning the sensor, never spray the fluid directly on the surface. Use a puffer to blow off any loose material, then spray a clean micro fibre cloth, wrap it over the end of a cotton swab and use small circular motions. Once the surface dries, use your puffer again to remove any remaining dust.
- To clean the filter simply drop it into a sprayed cloth and wipe until clear. If using a LensPen MiniPro, make sure to use your puffer to blow off any loose debris first.
- Replace the filter as shown in the video, taking care not to drop the side of the filter against the image sensor.
- Test the camera by shooting a light-colored surface such as a wall with a high f-stop setting on your lens (f16). Repeat if needed.
Switching Mounts
Switching between mounts is quick and easy. Simply use a small Philips screw driver and the small Allen key from your kit to remove the screws and hardware and replace them with the new mount as demonstrated in the video below. Make sure to keep all the parts for use again later.
Support
Got a question about your camera? Get up and running with our help! Take a look at our Troubleshooting Guide or FAQ for some solutions to common problems, if the answer isn’t there drop us a line.
For more help with our product please visit www.back-bone.ca/support or email us
support@back-bone.ca
Using The Tripod Mount
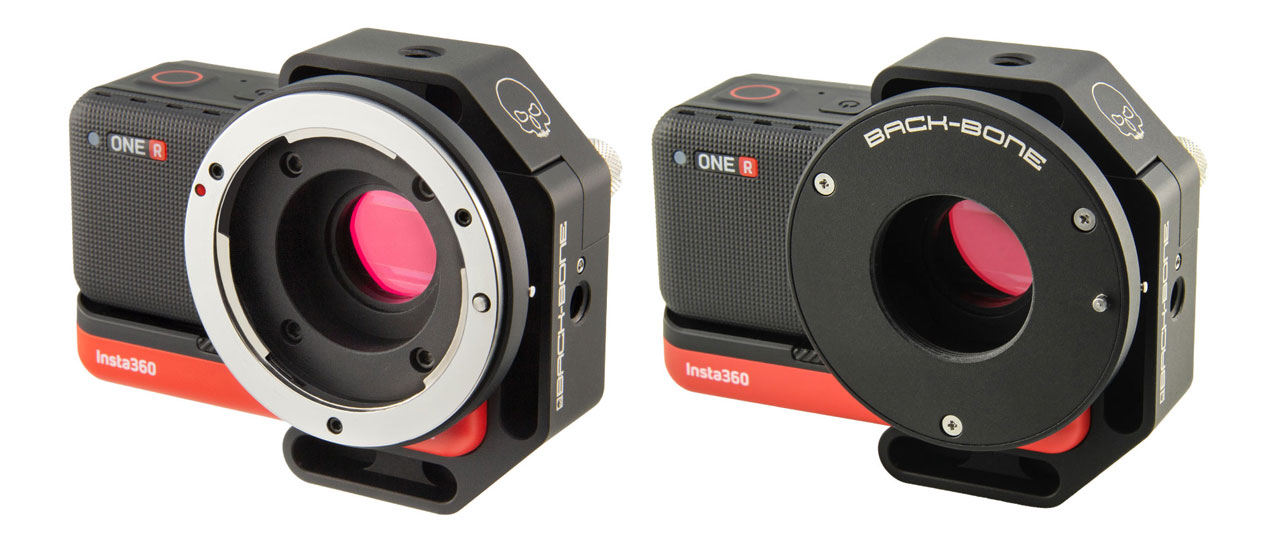
Attaching Back-Bone’s tripod mount to the Insta360 ONE R camera is a simple process. Simply loosen the thumbscrew on the back and line the mount up with the mounting holes on the top of the camera module. Squeeze the top and bottom together and tighten the screw. Use a coin to make sure it’s nice and tight! If using the mount with one of Back-Bone’s modified modules you can use the included screw for extra strength when using larger lenses.
Using Lens Adapters
Crop Factor Information
- 2/3” C-Mount – 0.69x (some longer 16mm+ 2/3” lenses will cover the sensor though they are technically too small)
- 16mm (Bolex) C-Mount – 0.8x (mild vignetting)
- Super 16 C-Mount – 0.92x (slight vignette with wide angle lenses)
- 1” C-Mount – 1.0x
- 1.1” C-Mount – 1.1x
- Micro Four Thirds – 1.36x
- APS-C – 1.79x
- DX – 1.79x
- APS-H – 2.11x
- 35mm (Full Frame) – 2.73x
For more information on crop factors please visit this page.
